Our teacher has been a jewellery-maker for many years, and is very relaxed, and was happy for different people in the class to be getting on with various different things. We talked about what I had tried already at the Summer School, and then my teacher suggested trying to make my first ring. I decided to use some copper I had to try it out (copper isn't fantastic for rings, as it tends to make your skin go green! - but it is relatively cheap and easy to work with).

First I had to size my finger, to work out the circumference of the piece of metal strip that would be shaped into the ring. We decided to try a thick band, which meant adding an extra couple of millimeters (as thick rings always feel tighter than thin ones).
So, I cut a strip of copper to size, and then added some surface texture using hammer marks. Then, using half round/flat pliers, I gradually shaped the metal into a rough ring shape, eventually getting the two edges to meet as truly as possible. Next, we soldered the edges together (still a bit scared of the soldering torch - this time we used disposable hand torches rather than blow torches - but I still find myself heating it too gingerly) - the teacher helped me put some welly into it, and the joint eventually soldered ok.
Once the ring had been quenched in water, and soaked in the pickle to get rid of the oxidised layer, it was time to shape it more finely on a ring mandrel (a big long tapered piece of steel) using a hammer, making sure to shape it evenly all around. Last of all came the filing and polishing to get the edges smooth and a shine on the surface.
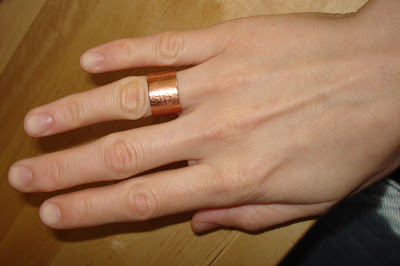 It was really satisfying to finish something within the 2 hours of the class, and I really like the breadth of the ring on my finger (and it actually fits!). I also like how the texture has turned out to look a bit like Birch bark. Looking forward to next week's class!


 Kirigami - 切り紙 - is a Japanese word meaning 'the art of cutting paper' ( 'gami' meaning paper - same as in origami) - we've all done something similar making snowflakes at Christmas, but the Japanese take it to a whole new level! I first started making kirigami shapes for a series of cards, but then I wondered if the shapes would work well with fabric - so I had a go. I think the more complicated ones look really nice, and work especially well on felt, but how much of a problem fraying will be with regular fabric remains to be seen. Cutting out the shapes with fabric is a lot more difficult than paper, as the technique relies on several folds to allow repetition of the pattern.

 I also tried some more straightforward applique of slightly easier shapes, on a different top. For this I used a sort of 'petal' design I drew, and some scraps of Liberty fabrics from my stash.
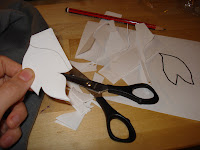 I cut out some templates, and put sticky tape on the back so I could play around with positions, to work out the final placement.
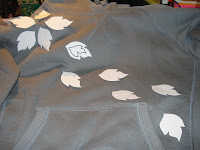 Then I cut out the fabric shapes and decided which pattern would go where.
 Then I removed the templates and pinned on the fabric shapes.



 I decided to 'hem' the piece, which meant folding under the edges and sewing them down - taking the design right to the edges.
  Then I mounted the perspex backing onto some plain cream handmade paper, and put it into the frame.
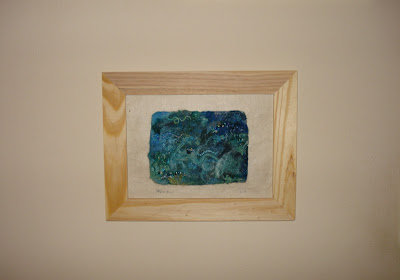
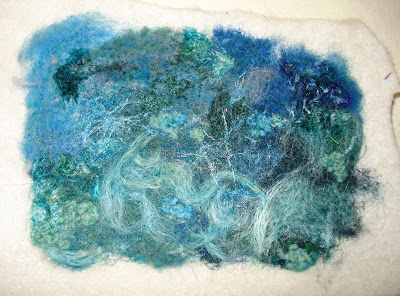
 The name 'Atlantis' was suggested, and has stuck! Maybe it's the sea surrounding the mythical city, where the underwater world has taken over... .